
Before you start
You’ll need:
- Store owner or admin access to your BigCommerce store.
- Access to the Facebook Business account that owns your pixel (Meta Business Suite or Events Manager).
- A pixel (also called a dataset) already created in Events Manager.
1Install the app
- In your BigCommerce control panel, go to Apps › Marketplace.
- Search for Haptech Facebook Pixel & CAPI and open the app.
- Click Install, review the permissions and confirm.
The app opens inside your control panel on the Home tab. You can come back any time from Apps › My Apps.
2Find your Pixel ID
- Open Meta Events Manager.
- In Data sources, select your pixel.
- Copy the ID shown under the pixel name. It is a number of about 15–16 digits.
3Create a Conversions API access token
The access token lets the app send events from our server to Facebook, so purchases are still counted when a browser blocks the pixel.
- In Events Manager, select your pixel and open the Settings tab.
- Under Conversions API, click Generate access token.
- Copy the token and keep it somewhere safe. Facebook shows it only once.
4Add your pixel to the app
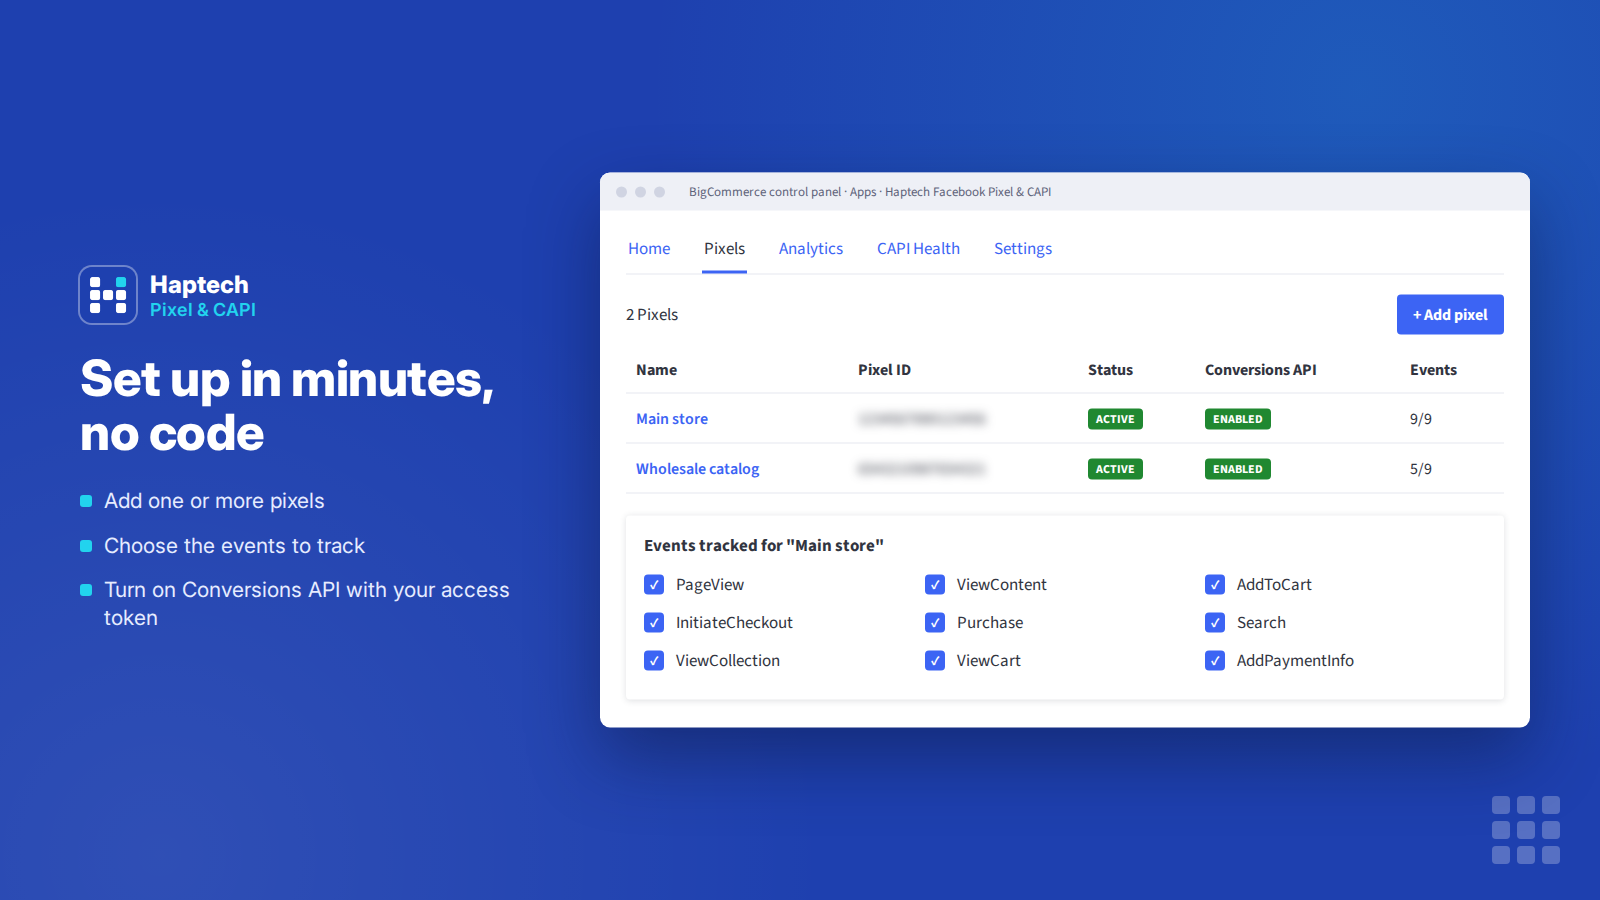
In the app, open the Pixels tab and click Add pixel. Setup has five short tabs.
Basic Info
Give the pixel a name you’ll recognise (for example “Main store”) and paste your Pixel ID.
Conversions API
Turn on Conversions API and paste the access token from step 3. If you want to check events in Facebook’s Test Events tool, also paste the test event code here (see step 5).
Events
Choose which events to send. We recommend keeping all of them on:
| Event | Sent when a shopper… |
|---|---|
| PageView | opens any page |
| ViewContent | opens a product page |
| ViewCollection | opens a category page |
| Search | searches your store |
| AddToCart | adds a product to the cart |
| ViewCart | opens the cart |
| InitiateCheckout | starts checkout |
| AddPaymentInfo | enters payment details |
| Purchase | completes an order |
Customer Params
Choose which customer details are sent with server events, such as email and phone. They are hashed before they leave your store and help Facebook match events to people, which improves your Event Match Quality score.
Target Pages
Choose where the pixel runs. Most stores keep the default, all storefront pages. Click Save to finish.
5Check that events arrive
- In Events Manager, select your pixel and open Test events. Copy the test event code.
- In the app, edit your pixel, paste the code in the Conversions API tab and save.
- Open your storefront in a new window, view a product and add it to the cart.
- Back in Test events, you should see each event twice: once from the Browser and once from the Server, marked as deduplicated.
- When you’re done, remove the test event code from the app so live events are reported normally.
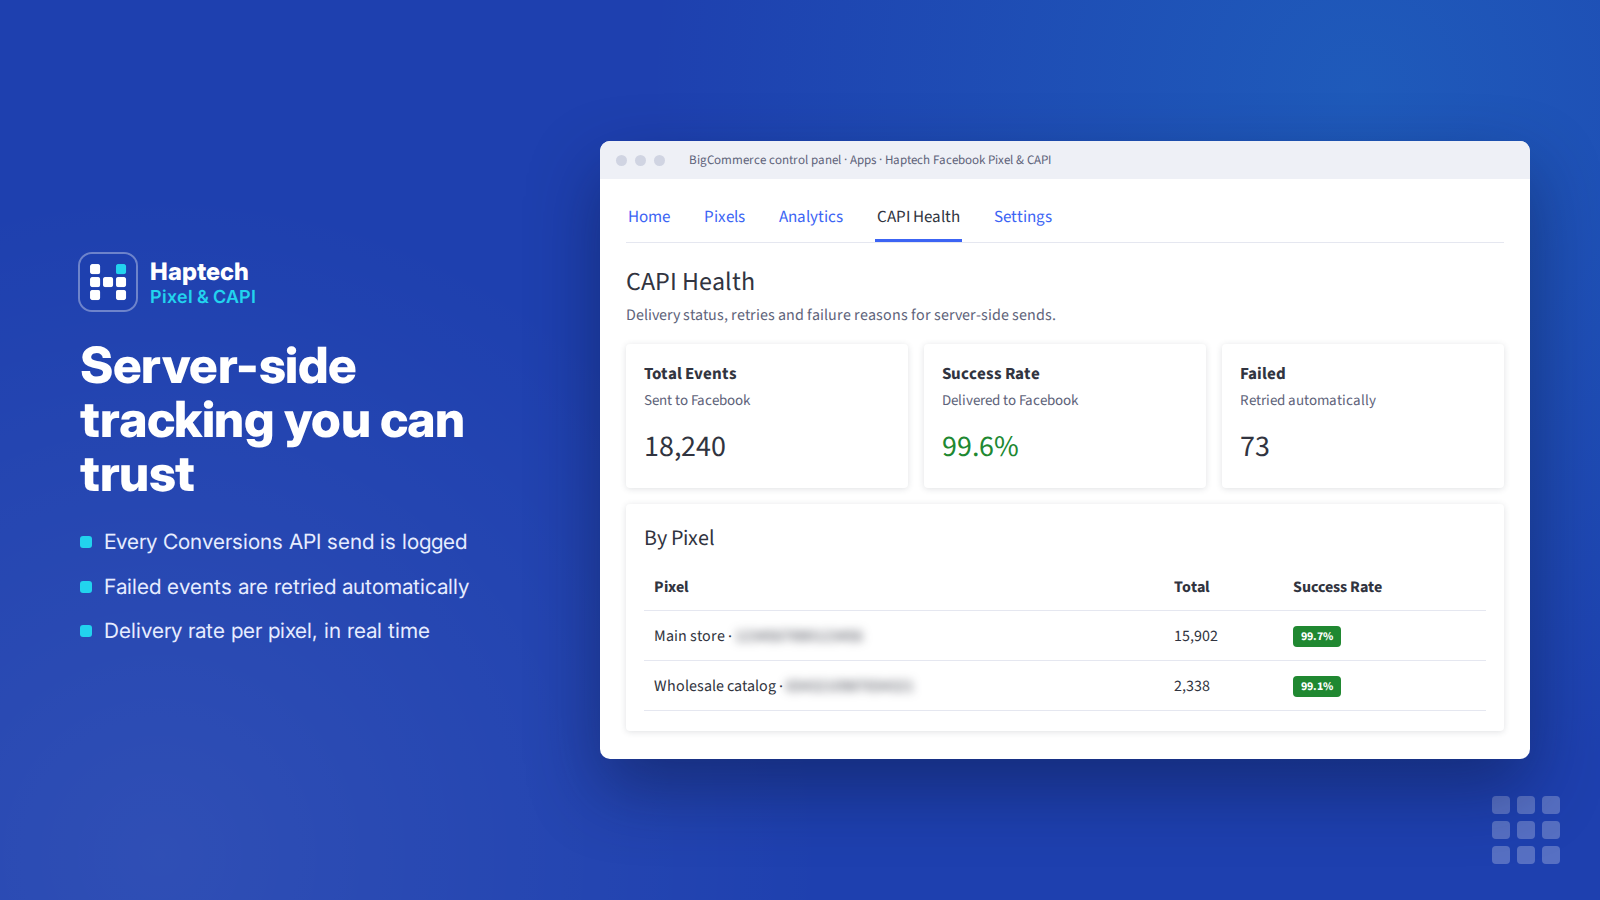
You can also open the app’s CAPI Health tab to see how many server events were sent and whether any failed.
Reading your reports
Home
A summary of the last 7 days: your pixels, revenue, server-side delivery health, and how many add to carts, checkouts and purchases were tracked.
Analytics
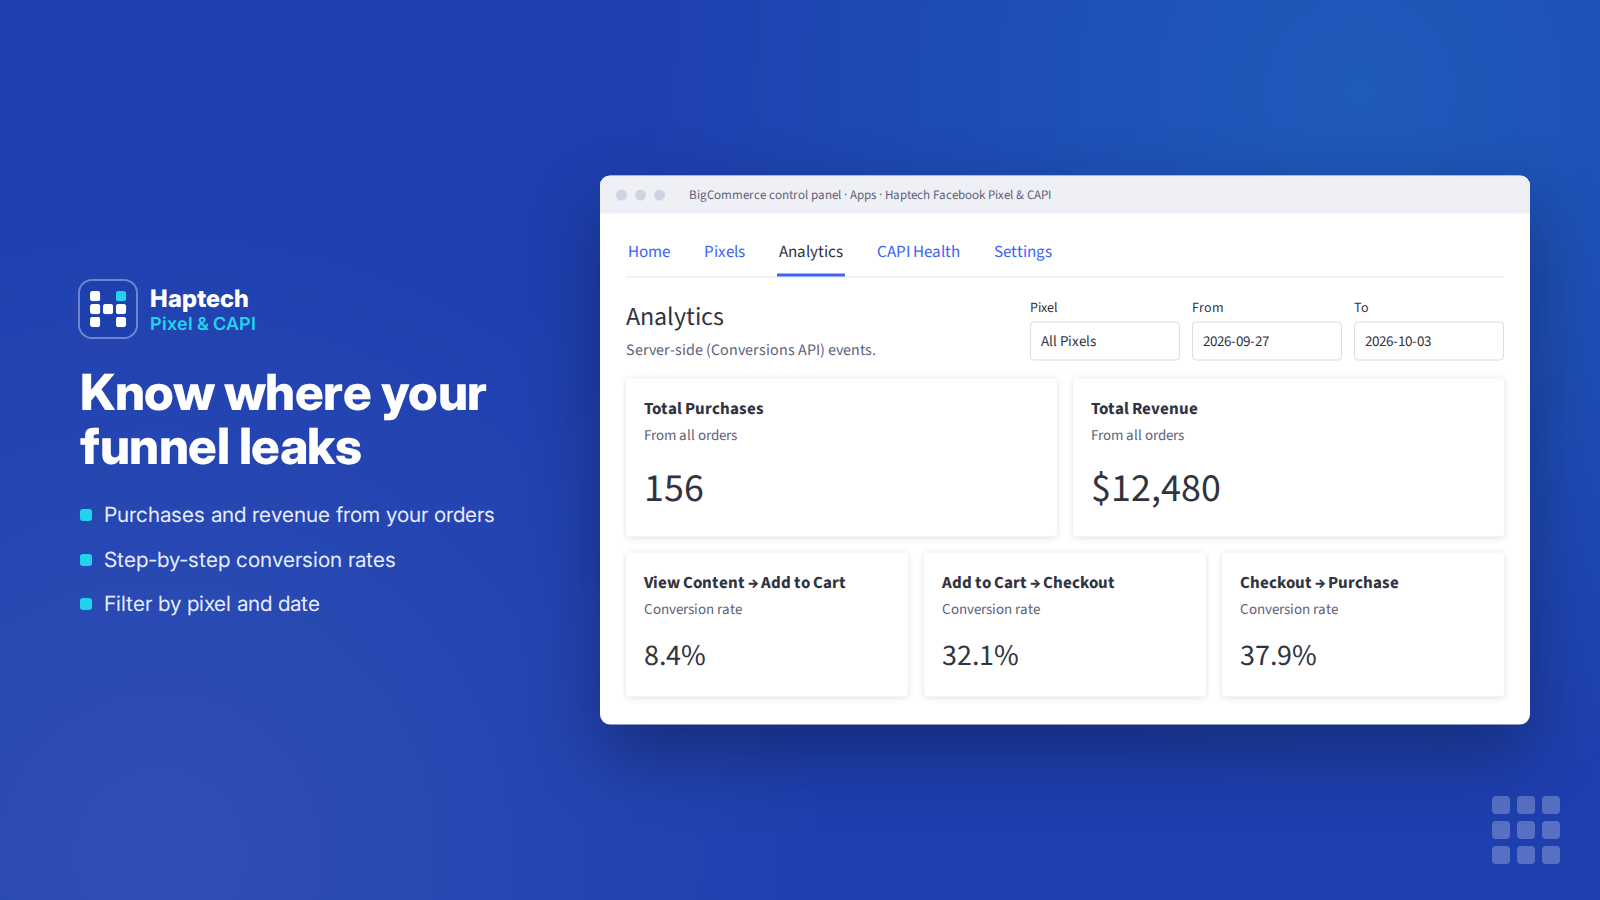
Purchases and revenue from your orders, plus conversion rates between each step of the funnel. Filter by pixel and date.
CAPI Health
Every server-side send, the success rate, and the reason for any failure. Failed sends are retried automatically.
Troubleshooting
No events show up in Events Manager
- Check that the Pixel ID in the app matches the pixel you’re looking at in Events Manager.
- Make sure the pixel’s status is Active in the Pixels tab.
- Visit the storefront in a private window with ad blockers turned off. Browser events can take a few minutes to appear; server events usually appear within a minute.
- If your store uses a cookie consent banner, accept tracking cookies while testing. The pixel follows your store’s consent settings.
Events are counted twice
The same pixel is installed somewhere else as well, often in theme files, Script Manager, Google Tag Manager, BigCommerce’s built-in Facebook channel or another app. Remove the other copy. Browser and server events sent by this app are already deduplicated with a shared event ID.
CAPI Health shows failed events
- Invalid or expired token: generate a new access token (step 3) and paste it into the pixel’s Conversions API tab.
- Pixel not found: the Pixel ID is wrong, or the token belongs to a different pixel.
- Temporary errors: these are retried automatically. No action is needed unless the failure rate stays high.
Event Match Quality is low
Turn on more customer details in the pixel’s Customer Params tab, especially email and phone. Scores update in Events Manager within about 48 hours.
I have more than one storefront
The pixel is currently added to your default storefront. Support for additional storefronts and Catalyst is coming in a future update. Contact us if you need it now.
Uninstalling
- In your BigCommerce control panel, go to Apps › My Apps.
- Find Haptech Facebook Pixel & CAPI and click Uninstall.
All storefront scripts added by the app are removed automatically and your store returns to how it was before installation. Your pixel and its history in Facebook are not affected.
Get help
Email support@haptech.org with your store URL and a short description of the problem. We reply within one business day.
Please don’t include your access token in emails.